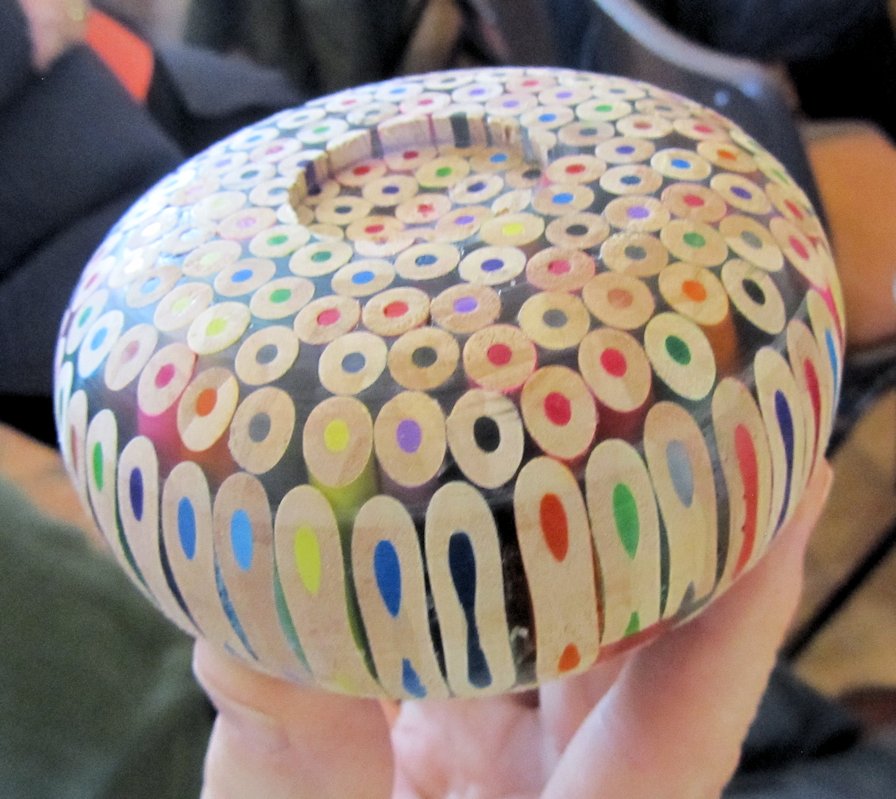
For the next one he used a piece set in black resin from which he would turn a pot but fitted with a wooden base and collar and have a fitted wooden lid.
As before he mounted it on a screw chuck and I think I will let the pictures show the progress from shaping the outside. The wooden base was turned with a chucking recess and then glued on using hot melt glue but Roger first runs a line of glue on to the wood, then using an electric paint stripper he warms the surface to be covered and then warms the glue until it bubbles before pushes the two pieces together.
He hollowed it out using forstner bits starting with a smallish one and progressing up to the size needed leaving just the bottom to be cleaned up. Doing it this way helps to prevent the pencil leads from breaking up. Gently does it. The top was glued on in the same way, drilled through and then turned to suit the inside diameter and creating a recess for the lid to fit in to.
And there you have it.
The pictures are in the gallery
Sanding also has to be done with care because if your sand paper, Roger uses wet and dry going from 120 to 400 to 800 and then down to 2000 grit, gets too hot the colours will run, particularly the black and this can ruin the whole effect. You can give the piece a final finish with a few coats of gloss lacquer sprayed from a short distance away from the surface.
Roger’s final item, which didn’t get finished, was to make a start on the one he had cast at the start of the day. He went through the same process as before and then gave it to one of us to finish off to be put in at one of our charity events. In fact he gave all his pieces of the day to be used in this way and also gave away a few pre prepared blocks to anyone who wanted to try one at home. A very interesting day which everyone enjoyed.
Fred mentioned that you can see a demo of resin casting on youtube with Highland Boxes by Pam Harris
Next month we have Simon Hope back with us and we have all seen his work before so all I can say is come along on the 9th March and enjoy another interesting day
and with Simon he will probably try and flog you a few tools. You know. Those must haves you didn’t know you needed!!
I have enclosed a copy of the competition rules with this newsletter so with a bit of luck and a following wind there will be no more misunderstanding about how the system works.
See you all on the 9th
Graham
|